How to connect to a Raspberry Pi using VNC Viewer or SSH on Windows 10/8/7?
Or how to connect to a Raspberry Pi to a laptop using Ethernet Cable?
How can I use my laptop’s screen as the screen for Raspberry Pi? This is, of course, tricky if you don’t have a TV screen with HDMI ports.
Even if you have a TV screen, you may not feel as conducive as it is while using a laptop. If you are to TV screen you will have to mess with keyboard and mouse.
So, why not use a laptop instead of a TV screen?
You cannot connect Raspberry Pi directly to Laptop using HDMI cable like in TV.
Initial Setup
For the initial setup, yes you can use a TV screen with HDMI and enable SSH and VNC. Connect your Rasberry Pi (with power on) to the TV screen using HDMI. Your Raspberry Pi will automatically boot once it is connected to the TV screen.
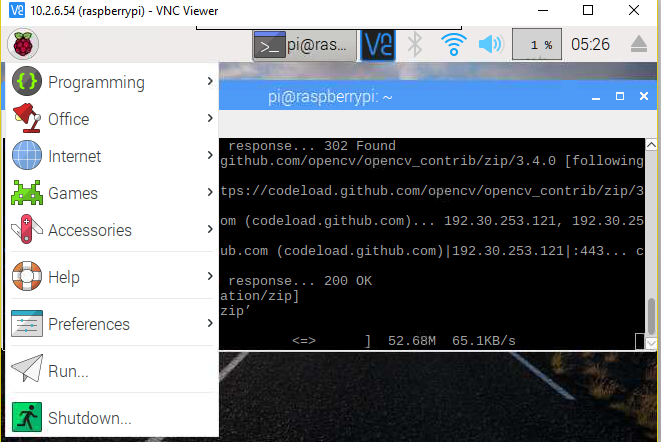
- Click on Menu -> Preferences ->
 Raspbian OS Menu
2. Click on Raspberry Pi Configuration -> Interfaces

What do I do when I use my Raspberry Next time?
After enabling SSH and VNC you can easily access your Raspberry Pi from your Laptop or and your devices that support VNC and SSH like Android Devices.
This is what I have learned myself recently from my Computer Vision project that I am still working on. I took hell lot of time trying to find out the best method to do this.
The method varies from one source to another. You will find thousands of methods shared about how to do this particular thing. Most of them didn’t work with my Raspberry Pi 3 Model B+. If you are working on the same model, you may have to continue reading this post.
First Things First
Then how can I connect Raspberry Pi to my laptop? First, collect the required things! Here are the things that you will need to follow this method:
1. Ethernet Cable
2. You laptop
3. WiFi Access Point or your phone’s WiFi hotspot would work fine.
4. Raspberry Pi
5. Power Adapter for Raspberry Pi
And not to forget, download Putty, Xming Server, VNC viewer, and Advanced IP Scanner. You know what to do after downloading it. JK! Install them on your laptop.
If your laptop is not connected to your WiFi, connect it first. After connecting it, open your good old friend Control Panel.
1. Open Control Panel.
2. Then go to Network and Sharing Center.
3. Click on Change adapter settings.
4. Here you will find your network adapters.
5. Select WiFi and Ethernet adapter.

6. After selecting WiFi and Ethernet adapters, right mouse click and click on Add to bridge. This will create a bridge between the WiFi and Ethernet adapter.

7. Connect your Raspberry Pi to the laptop using Ethernet cable. Wait for sometime to get your connection established.
I assume you have installed PuTTY, Xming Server, VNC V, ewer and Advanced IP Scanner by now.
What’s for the next?
You are all set to connect your Raspberry Pi to your laptop. But there is some house-keeping that you will need to do.
1. Open your Command Prompt and run ipconfig. Note the default gateway of the Ethernet adapter Network Bridge that your two adapters are connected to.
2. Open Advanced IP Scanner. Enter the Default gateway IP range and click on Scan. Search for Raspberry Pi in the search box and get its IP address.
3. Open VNC Viewer and Enter the IP address of the Raspberry Pi.
4. Enter the Login Credentials. By default, username name is pi and password is raspberry.
Or if you are a bit of a Geek…
Try using SSH. Turn on your Xming Server.
- Open PuTTY.
- Enter the IP address of the Raspberry Pi in the Host Name (or IP address) box. Keep the port as 22.
- Click on SSH -> check x11 forwarding to enable it.
- Click Open
Now you are done!
Conclusion
There are many ways to connect to Raspberry Pi to your laptop or any other devices that support SSH or VNC viewer. There are many methods shared on the Internet but all may not work on your device. This method worked for me and it should work on yours too. Android phones can be used to access to access Raspberry Pi like in laptops.
You may also like to check out my previous posts on computer vision.
